Welcome to the Kiarah Studios Photographer Dashboard
This guide will help you understand how to use the Photographer Dashboard to manage Check-In/Out and upload session photos/documents.
Step 1: Access Your Dashboard
Open Your Personalized Link
- Use the dashboard link provided to you via email.
- Bookmark this link in your browser for quick and secure access.
- Important: This link is unique to you. Do not share it with others.
Step 2: Check-In/Out Process
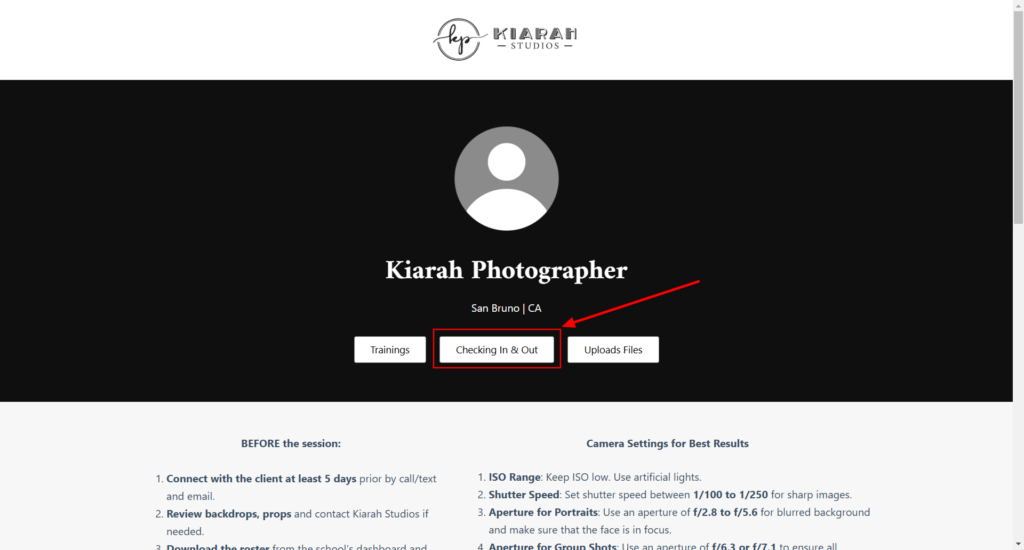
Accessing the Check-In/Out Section
- Click on the “Check-In/Out” button from your dashboard.
- A form will appear where you need to fill out the following:
- Client Name: Enter the name of the client for this session.
- Check-In/Out: Select whether you are starting or ending the session.
Checking in
- After selecting Check-In, you’ll see a photography checklist.
- Complete the checklist by ticking all required boxes before submitting the form.
Checking out
- After selecting Check-Out, you’ll see a photography checklist.
- Complete the checklist by ticking all required boxes before submitting the form.
Confirmation
- After successfully submitting the form, you will receive a confirmation email for both Check-In and Check-Out.
- Always ensure that the Client Name matches for both forms.
Step 3: Upload Photos and Documents
Accessing the Upload Form
- Click on the “Upload Files” button on your dashboard.
Upload Documents and Photos
- Enter the Client Name used during Check-In/Out.
Additional Tips for Uploading
- Patience is key: Large file uploads may take time. Wait for the upload progress to finish.
- If any interruptions occur, restart the upload process from where it left off.
- Always double-check the total number of files uploaded to avoid discrepancies.
Mobile Navigation Tips
- Tap the buttons under your name to access Check-In/Out, Upload Files, or Trainings directly.
